LoRa - new Packet Radio age
This is an article about Packet Radio at Raspberry PI with LoRa modules as a TNC. It is for your own experiments. Please, share it and help with new features :) You can contact me at honza at ok2zaw.com or on FB.
Download the Raspberry PI images:
Download image from the link on this page and unZip it.
There are TWO images:
see more in text below...
Then you need to copy it to the SD card. This is for windows users :) So please download and install this software:
Win 32 disk Imager
Now you can insert SD card to PC, start Win32DiskImager and open UnZipped image. Select right Device (microSD card) and press Write. If you see error, eject and insert SD card again.
After that you can insert microSD card to Raspberry PI and start it. If the Raspberry is connected to LAN you need to find its IP address. You can find it in your router (DHCP clients), using some LAN IP scanner or connect HDMI monitor.
If you use
LAN connection, download and run
Putty.
Write right IP address and press Open. You will see information about certificate - do agree.
Write username: pi and password: raspberry
Now you should be logged in:
It is highly recommended to
change password by:
passwdWrite current one: raspberry and write your new one.
If you have bigger SD card than 4 GB you should resize partition.
You can check free space by: df -h
Resize card: sudo raspi-config
Change your Time zone: dpkq-reconfigure tzdata
You can run Midnight Commander: mc
Configure Raspberry PI after boot:
Resize card: sudo raspi-config
Enable SPI and I2C:
1. Select 3. Interface Options
2. Select P4 SPI (Enable, YES)
3. Select P5 I2C (Enable, YES)
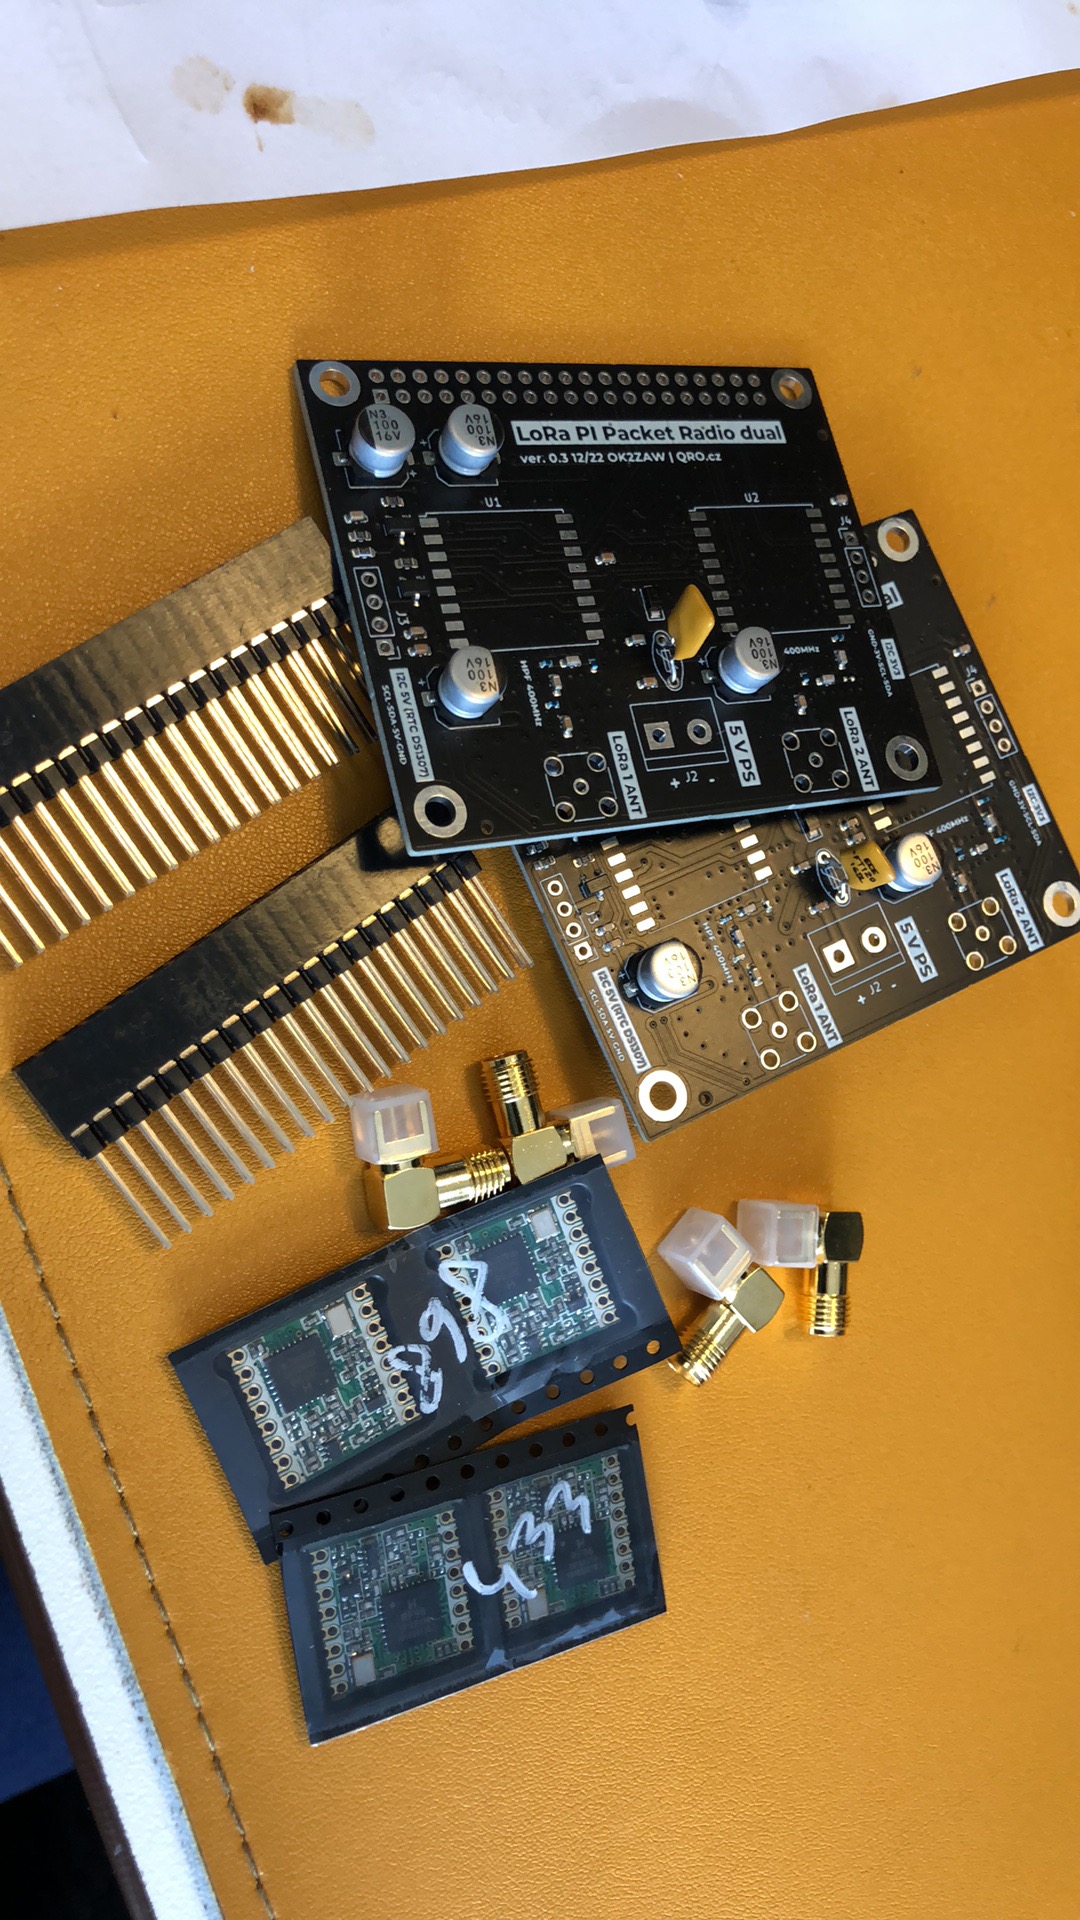
Hardware:
There is example of schematic for two LoRa modules. You can use only one. You have to set up right PIN numbers in TNC configuration.
If you like to use two LoRa modules, you have to set up right IRQ PIN numbers.
LoRa module 1: GPIO 5
LoRa module 2: GPIO 19
TNC setup:
You have to set right parameters:
- TCP_HOST and PORT (must be different for TNC1 and TNC2)
- irqPin (TNC1 = 5, TNC2 = 19 for OK2ZAW board)
- LoRa settings: Frequency and LoRa parameters.
BPQ32 setup:
Please, I am very basic user of BPQ :) Most of my settings are try-and-test... I will be very happy if someone could help me with right parameters settings!
Directory: /home/pi/BPQ
CONFIG file: bpq32.cfg
RESTART BPQ: ./bpq-config
DO NOT change config file by BPQ-config script - could break TNC configuration.
Please, change configuration to your CALL, your informations:
There are port configuration. Port one is some deffault one, port 2 is TELNET. port 3 and 4 are local TCP ports. You have to change to right PORT number (IP address) and comment.
APRS configuratio:- there are all APRS settings. You can use it together with APRS RX gateway (RTL-SDR and direwolf)
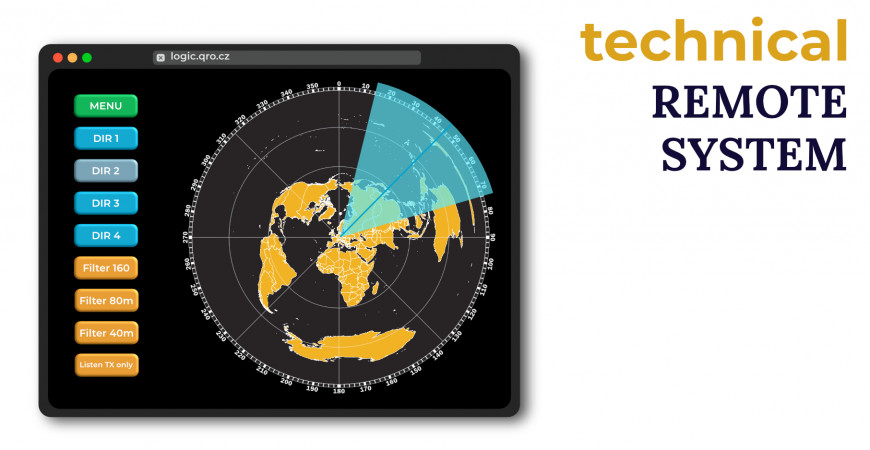
BPQ32 web page status:
Web page access: IP:8008/Node/NodeIndex.html
example: http://10.20.30.139:8008/Node/NodeIndex.html
EXAMPLE 1: RTL-SDR as 2m APRS gate - sending packets over LoRa:
In this case, BPQ runs as a BBS. RTL-SDR is connected to USB and Direwolf receive APRS packets at 144,800 MHz. From direwolf it is connected to BPQ and Bridged to LoRa TNC. All received packets are send to LoRa TNC too. Second Raspberry PI receive packets over LoRa TNC and sending to APRS network by configuration on BPQ.
Starting RTL-SDR with direwolf:
rtl_fm -f 144.80M -o 4 - | direwolf -n 1 -r 24000 -b 16 -c sdr.conf -
Please, change Direwalf configuration in: /home/pi/direwolf/conf/sdr.conf
NOTE: when I moved image from Raspberry PI 4 to ZERO, Direwolf stopped working. I have to reinstall it! Error was:
Signal caught, exiting!
User cancel, exiting…
Illegal instruction
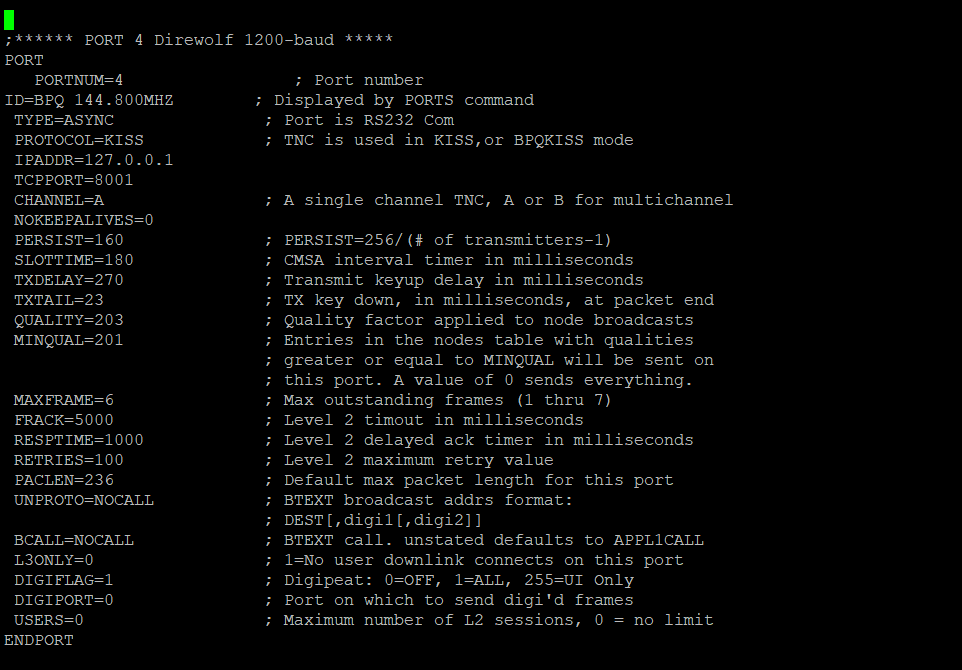
BPQ Direwolf port example:
BPQ bridging:
- this is example for bridging PORT 4 (2m APRS RTL-SDR port to ports 3 and 5 (LoRa 433 and 868 MHz)
BRIDGE 4=3 ; Bridge Direwolf port to LoRa
BRIDGE 4=5 ; Bridge Direwolf port to LoRa
RC.LOCAL start up:
There are starting commands for different softwares. you can find it in:
PATH: /etc/rc.local
Example:
# START LoRa TNC1 at localhost
sleep 2
cd /home/pi/LoRa_TNC/TNC1
sudo ./Start_lora-tnc.py >/dev/null &
sleep 4
# START LoRa TNC2 at localhost
sleep 2
cd /home/pi/LoRa_TNC/TNC2
sudo ./Start_lora-tnc.py >/dev/null &
sleep 4
# START 2m RTL-SDR APRS DIREWOLF TNC at localhost
#sleep 2
#rtl_fm -f 144.80M -o 4 - | direwolf -n 1 -r 24000 -b 16 -c sdr.conf - &
#sleep 2
# RESTART BPQ32
sleep 2
cd /home/pi/BPQ
systemctl stop bpq.service
sleep 5
systemctl start bpq.service
sleep 5
# using RTC time module Tiny RTC:
sudo echo ds1307 0x68 > /sys/class/i2c-adapter/i2c-1/new_device
***hwclock --hctosys
edit 06/23
hwclock -s
Windows TERMINAL:
RTC at raspberry:
There can be application where the raspberry is not connected to internet (my solar powered setup in mountains) and it is a good idea to have right time and date in system. You can use RTC board connected to my board. This is for ds1307 *DS3231. It is preconfigured in the IMG. You need to enable it in rc.local:
# using RTC time module Tiny RTC:
sudo echo ds1307 0x68 > /sys/class/i2c-adapter/i2c-1/new_device
*** hwclock --hctosys
edit 06/23
hwclock -s
When you insert new board, you have to set right time.
Check if the board works and shows some timeby hwclock -r
If there is wrong time or no time, you have to connect Raspberry PI to internet, NTP server sets right time at raspberry and then use: hwclock -w
Now hwclock -r should show right time and date.
Next time hwclock -s does time sync to raspberry from RTC board.
Online node monitor:
There is online status monitor for BPQ:
link