Showing posts with label LoRa APRS. Show all posts

Monday, April 6, 2026

 Build your solar powered LoRa DiGi, router, repeater...


LoRa mesh networks are increasingly popular today. Thanks to their long range, low power consumption, and strong developer support, a wide variety of LoRa-based networks can be found in operation—such as Meshtastic, Meshcore, LoRa APRS, Meshcom, and others.

This board is designed for off-grid deployment, solar-powered operation, and installation in remote locations. With an integrated MPPT solar charger, it can efficiently harvest energy even from small solar panels or under low-light conditions.

The system supports up to four 18650 batteries. Battery longevity is enhanced by an automatic disconnect function when the cells are deeply discharged. This protection is temperature-dependent—the lower the battery temperature, the higher the cut-off voltage.

An additional protection feature allows charging to be disabled when the battery temperature drops below freezing. With the HT MeshGate LITE board version, it is also possible to redirect energy from the solar panel to battery heating.

The core of the LoRa system is a module from RAK Wireless, specifically the RAK4630, which supports frequency bands of 433, 868, or 915 MHz.

An additional feature is CPU monitoring via a hardware watchdog. This circuit requires a pulse at intervals shorter than 60 seconds; otherwise, it triggers a system reset. Support for this function must be implemented in the device firmware—for example, in Meshtastic, this is handled by the Heartbeat function.

The board also integrates a BME280 sensor, which provides temperature, humidity, and pressure measurements.

For further details, refer to the block diagram.

MeshGate LITE board HERE.


Outdoor enclosure:


Solar panels are an important part of the off-grid system. The panel allows you to connect to various MPPT voltage ranges. Two options are preset: 5 and 18 V. Another option is a custom voltage, which is set by adding resistors.


You can find more here.


Well, given the low RF power but the need for long-range coverage, the antenna is a key component. For key locations, I recommend collinear antenna systems with multiple elements.  See more HERE.

In built-up areas and locations with strong LTE and GSM coverage, interference can become a significant issue. This is due to the close proximity of these frequency bands to those used by LoRa, which can reduce the sensitivity and overall range of IoT devices.

A band-pass filter can significantly improve performance. However, commonly used SAW filters typically have a relatively wide passband. While they do attenuate some interference, they can also degrade the receiver’s noise figure.

From this perspective, a cavity filter is a more effective solution. It provides superior selectivity and minimizes unwanted signals without significantly impacting the noise figure. The main drawback is its complexity and cost, as it often features a precision design with a silver-plated interior.

See more HERE.


Tuesday, November 5, 2024

 Tropo DX at LoRa APRS 433 MHz


Late October and early November brought exceptional conditions for long distance DX contacts. The result was not only great result of OL7M guys in MMC contest, but also new and beautiful DX on LoRa APRS. 


The longest two-way contact was achieved from Koruna 1100m asl - isn't that even a LoRa 433MHz world record over land?

F4JPO-10 from JN08wt 1057km
F1ZFC-10 from JN09xi 1039km

And stations which heard me:

RIG there is TTGO LoRa32 with around 30mW and home made 4el. collinear antenna. Installed at the top of the tree in 1100m asl. Solar powered with rest LoRa toys. More there.

The conditions also favoured the lower positions. Here are the weather stations located around the hills in my area. One nice DX came through my apartment window. On the 5th floor with a small 3D printed dipole - OK2ZAW-23.
There is a 3D printed dipole, like on the other weather stations as well. They are all solar panel powered and have RF power around 50mW.


And there were also nice DX for YO gateways... like YO2B-10


Tuesday, August 13, 2024

Update at solar site in Eagle Mountains: LoRa APRS digi, WX, MeshCom, Meshtastic, LoRa PR


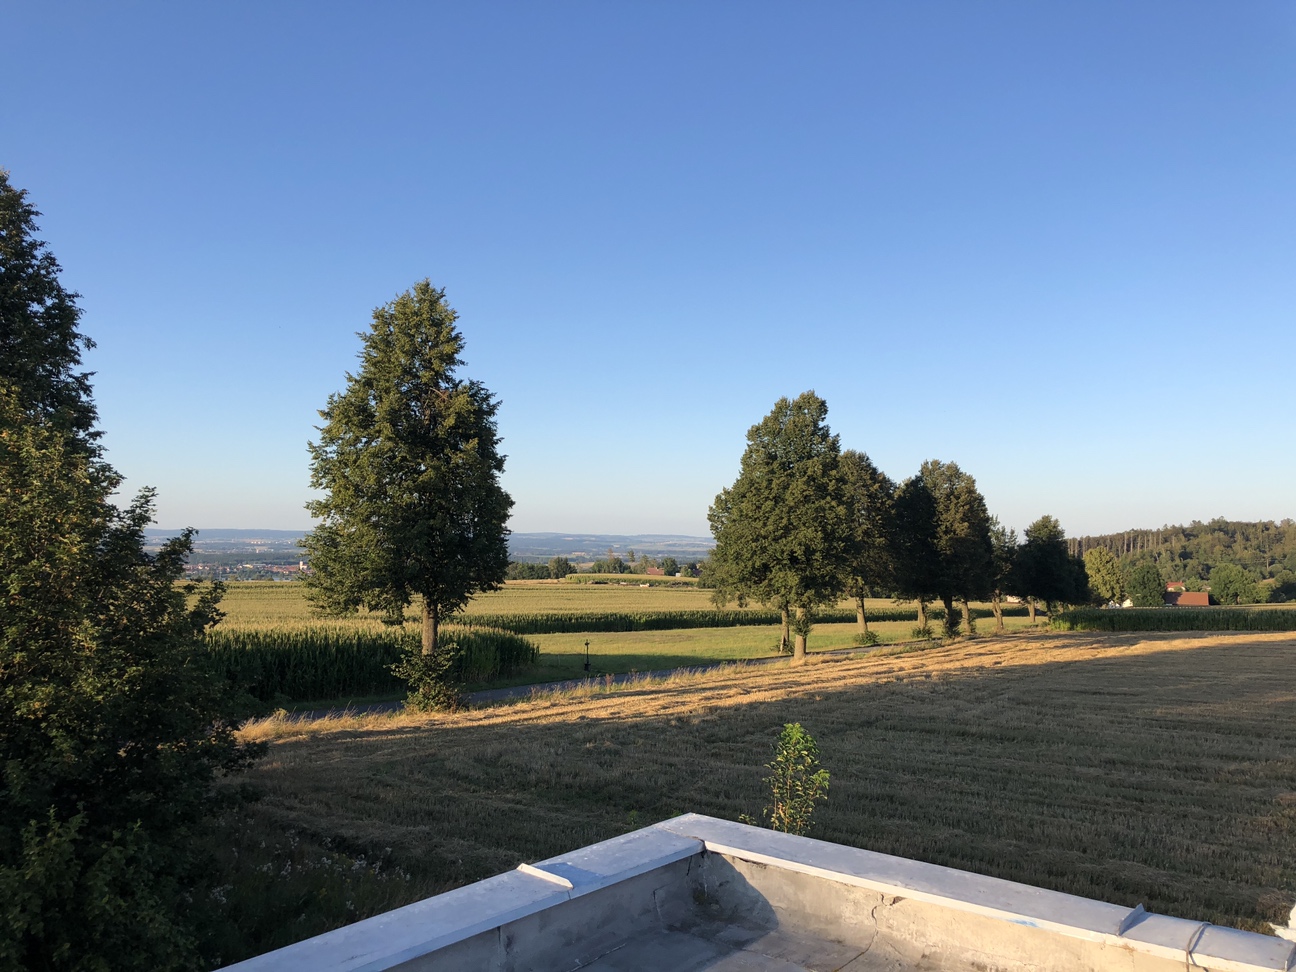
After a long time I finally found the time and made a day trip to the Eagle Mountains to inspect and upgrade the solar site. The trip got a bit complicated when I discovered that I didn't have the keys to QTH OL7M :) Fortunately it was sorted out - thanks Káťo. We loaded up the ladder and headed for the mountains. The morning rain turned into hot and sweltering heat at 1100m. 

I planned to change the batteries and most importantly add new technologies - Meshtastic and MeshCom. I also replaced the SD card in the raspberry PI zero for the LoRa Packet Radio to make both LoRa TRXs operational. Replaced the LoRa APRS WX station etc.

In the end it was a 4h job...

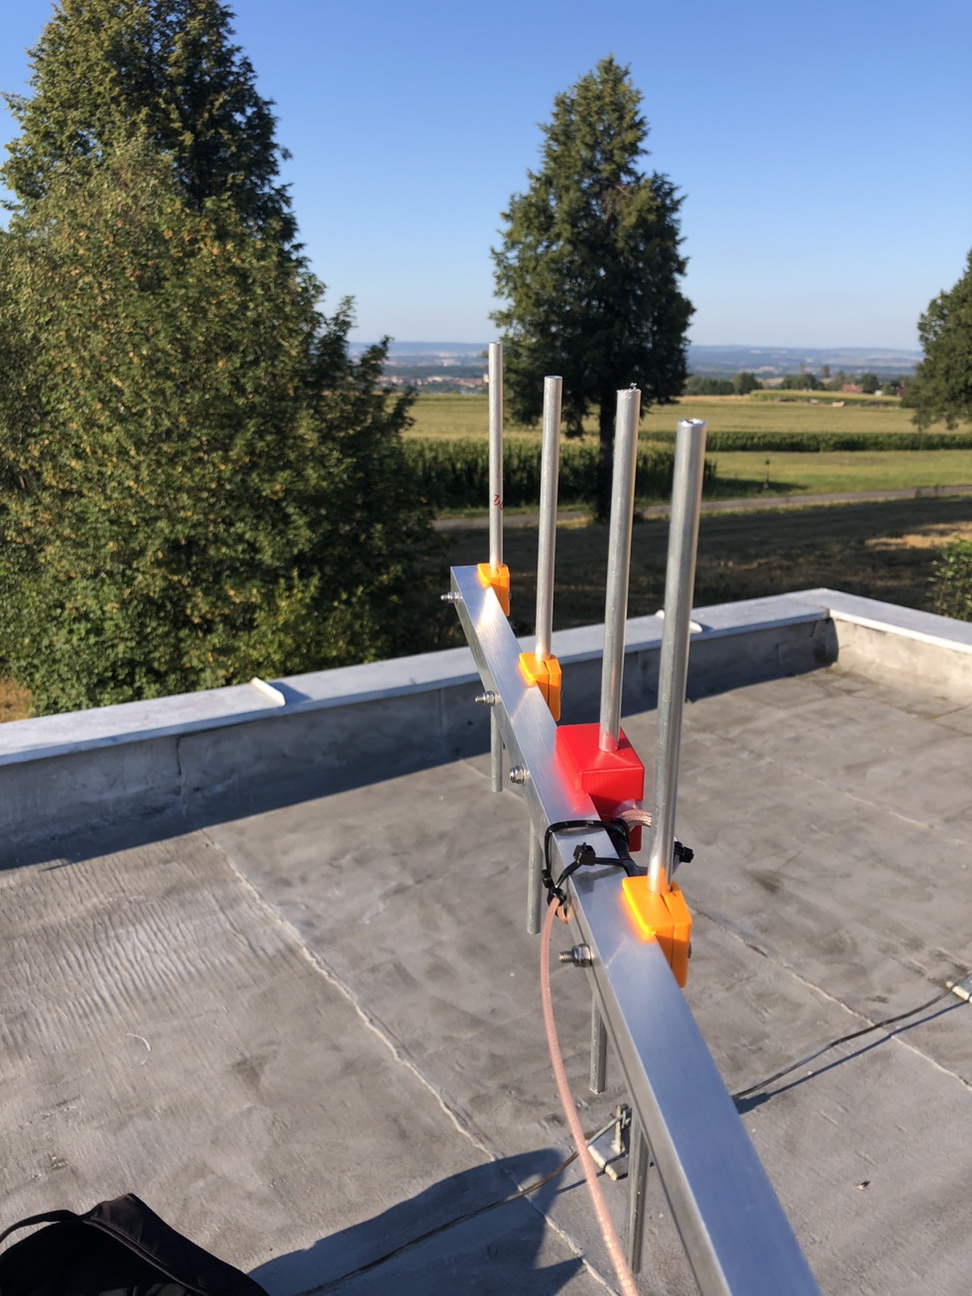
I installed new dipole for 433 and 868 MHz on one boom. 868 MHz is used for LoRa APRS WX station and 433 MHz for MeshCom. There is also new 3el collinear antenna for 868 MHz with 433 MHz filter for Meshtastic.

The power system works by having a main 12V 17Ah battery, this is charged by two solar panels 10 and 20W. My own MPPT charging boards also have battery discharge protection and their own DC-DC converter for 3V3 and 5V. Either board powers 3V3 stuff, like the LoRa APRS Digi and the 5V Raspberry PI zero board. The 3V3 board shuts off the battery when it drops to 11.5V and the 5V board at 12V. The weather station has its own 18650 battery that powers the LoRa APRS WX and the RAK 19003 for the Meshtastic. This metostation monitors and sends the main 12V battery voltage and Meshtastic sends the small battery voltage information. This WX station has its own small solar panel. 

In case the small battery in the WX station becomes disconnected, the main battery will be powered via 3V3 voltage.

There are now:

LoRa APRS digi - OK2ZAW-17
Frequency: 433775 kHz, slow 300bps
ANT: 4el collinear 
Link: APRS.FI
Coverage: there

LoRa APRS WX - OK4ZAW-16
Frequency: 869525 kHz, slow 300bps
ANT: dipole (with 433MHz) 
Link: APRS.FI

LoRa Packet Radio - OK2ZAW-1 and -7
BBS + NODE
Frequency TNC 1: 869525 kHz
preamble = 8 
spreadingFactor = 7
bandwidth = 250000
codingrate = 5 
Frequency TNC 2: 433075 kHz
preamble = 8 
spreadingFactor = 7
bandwidth = 62500
codingrate = 5 
ANT: H-pol Yagi to 210deg.

MeshCom
Project page here
Frequency: 433175 kHz
ANT: dipole (with 868MHz) 
Status: table

Meshtastic
Project page here
Frequency: 869525 kHz
ANT: 3el collinear
Status: graph
Antennas and power boards + raspberry PI zero and LoRa TRX


LoRa APRS WX board with own MPPT power system


LoRa Packet Radio - OK2ZAW-1 and -7

This is an experimental Packet Radio BBS and Node with two LoRa modems. You can find more (including SD card image) here

I tested the possibility of a 100km connection and with a small Yagi antenna there was no problem to communicate without failures. The signal was at 0 - 1dB SNR.

Test at 100km distance from JN79WK

MeshCom
This Austrian project is quite interesting and again uses LoRa modules and the 433.075 MHz frequency. It uses routing technology and so it is not only possible to send messages to users anywhere in the world possibly within a Radio Mesh network.
In the Eagle Mountains I installed a dipole towards approximately 310deg. Even so, I am able to communicate at 100km again only with the dipole at approximately -15dB SNR. When I experimented with the Yagi antenna I achieved up to 5dB SNR.


Are you interested in any of the projects? Feel free to get started :)

I also plan to offer KIT antennas - dipoles, collinear arrays including splitter and outdoor boxes...

Tuesday, September 12, 2023

 Tropo ducting week at 2m 09/2023


As usual... Tropo Ducting started just after the VHF contest. The conditions were above average and all week I was wondering where to turn the antenna earlier. Thanks to FT8, I can be QRV in the company even while working - for me, that's the main advantage right after being able to make nice QSOs with low power and also monitor conditions that would be impossible to monitor while operating CW or SSB...

Cool conditions lasted all week. Many nights I found myself missing new stations - I only saw the ones I already had in the log. It was also strange how slightly after midnight the stations disappeared - time to go to bed? :)

I heard a lot of stations over 1500km, but I didn't get many calls or only a few pings - a combination of Tropo and MS?

My RIG: 12 el G0KSC, 70 W, Adalm Pluto with TCXO and front-end, LNA 2x BF998. 
QTH: OL7M contest QTH, JO80CF, antena in 15m, REMOTE operation

Worked stations during the Tropo ducting

LoRa APRS OK2ZAW-17 (link) received stations


A few print screens from days...

4.9. 2023


6.9. 2023

7.9. 2023

8.9.2023

Friday, March 17, 2023

 LoRa - new Packet Radio age


This is an article about Packet Radio at Raspberry PI with LoRa modules as a TNC. It is for your own experiments. Please, share it and help with new features :) You can contact me at  honza at ok2zaw.com or on FB.


Download the Raspberry PI images:

Download image from the link on this page and unZip it.

There are TWO images:

LoRa_PR_2TNC_APRS_OK2ZAW (03/2023) is image with up to 2 TNC and APRS reporting software

LoRa_PR_2TNC_RTL-SDR_OK2ZAW (03/2023) is image with up to 2 TNC and RTL-SDR APRS

see more in text below...


Then you need to copy it to the SD card. This is for windows users :) So please download and install this software: Win 32 disk Imager

Now you can insert SD card to PC, start Win32DiskImager and open UnZipped image. Select right Device (microSD card) and press Write. If you see error, eject and insert SD card again.


After that you can insert microSD card to Raspberry PI and start it. If the Raspberry is connected to LAN you need to find its IP address. You can find it in your router (DHCP clients), using some LAN IP scanner or connect HDMI monitor.

If you use LAN connection, download and run Putty.
Write right IP address and press Open. You will see information about certificate - do agree.
Write username: pi and password: raspberry 
Now you should be logged in:


It is highly recommended to change password by: passwd
Write current one: raspberry and write your new one.

If you have bigger SD card than 4 GB you should resize partition. 
You can check free space by: df -h
Resize card: sudo raspi-config


Change your  Time zone: dpkq-reconfigure tzdata 

You can run Midnight Commandermc


Configure Raspberry PI after boot:

Resize card: sudo raspi-config

Enable SPI and I2C:
1. Select 3. Interface Options
2. Select P4 SPI (Enable, YES)
3. Select P5 I2C (Enable, YES)


Hardware:

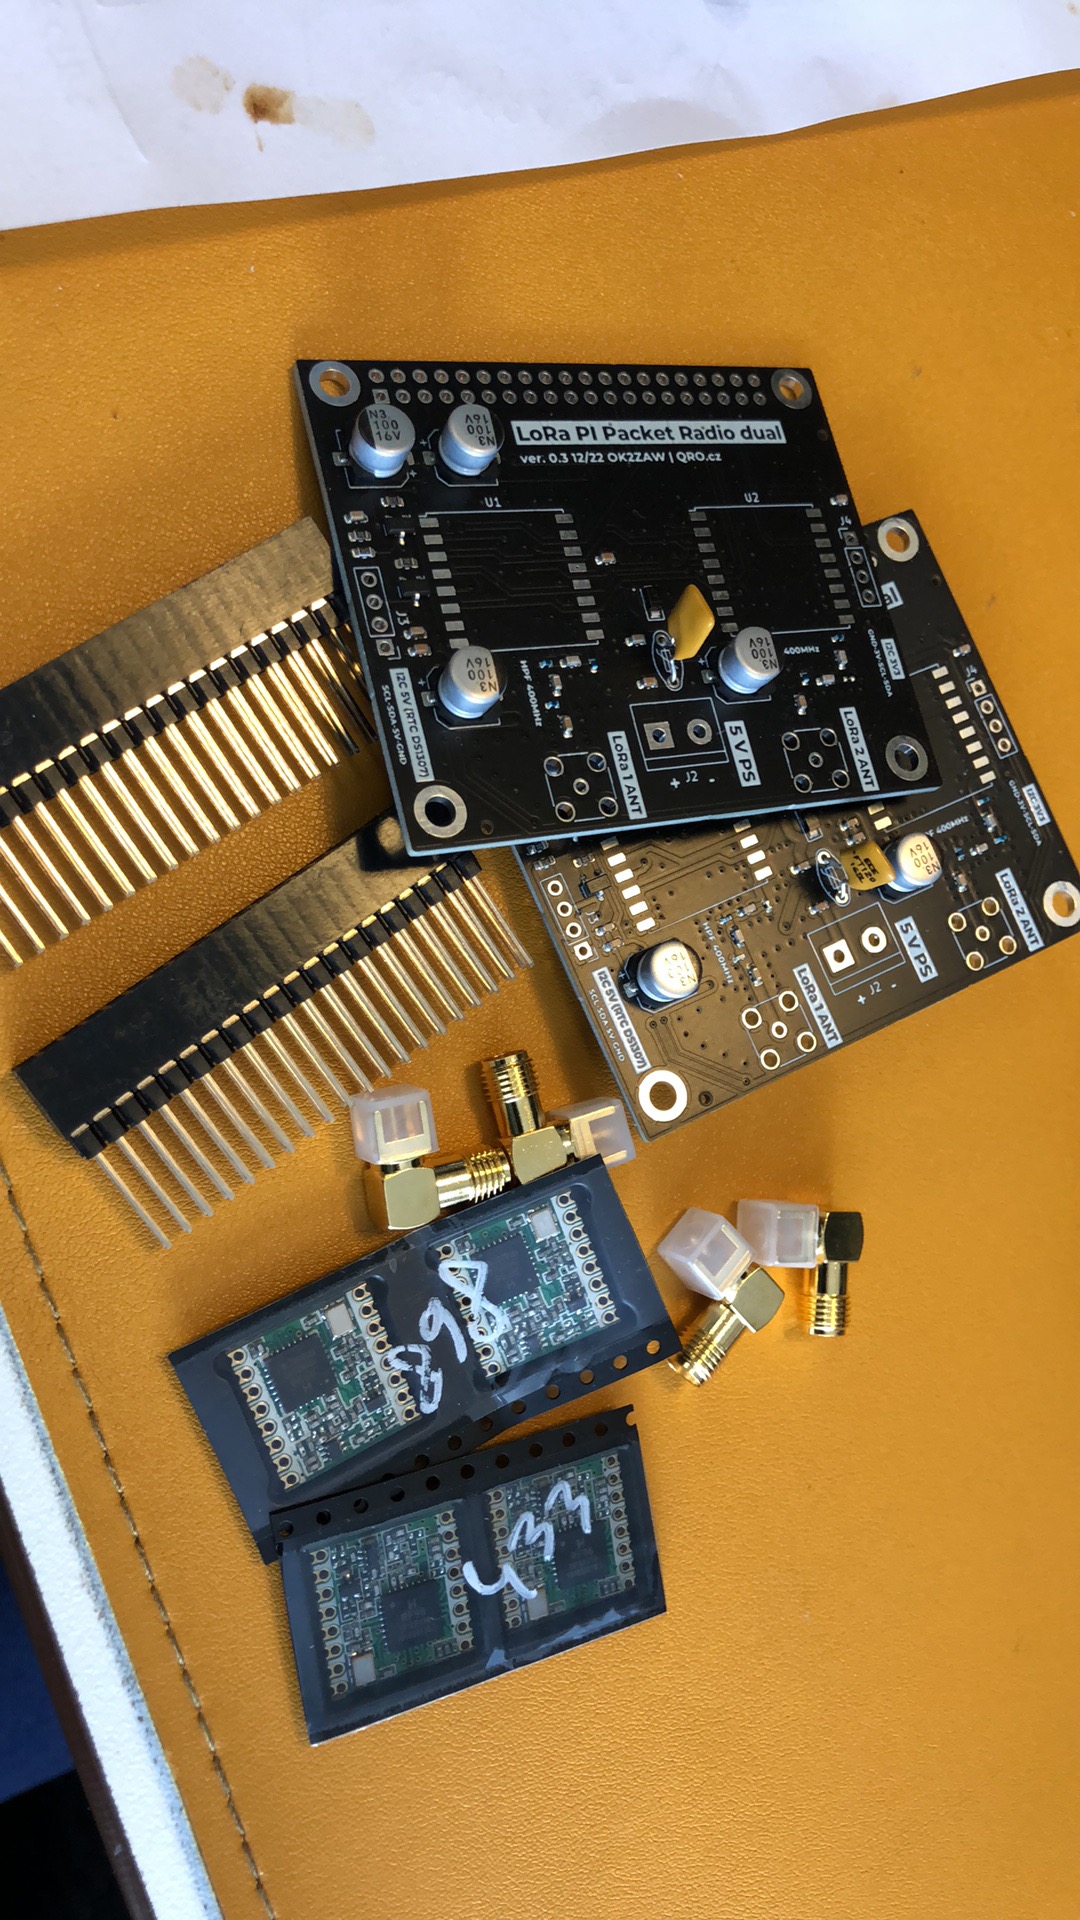
There is example of schematic for two LoRa modules. You can use only one. You have to set up right PIN numbers in TNC configuration.


IRQ PIN setup: 
If you like to use two LoRa modules, you have to set up right IRQ PIN numbers.
LoRa module 1: GPIO 5
LoRa module 2: GPIO 19


TNC setup:


IZ7BOJ GitHub: there the PR version


You have to set right parameters:
- TCP_HOST and PORT (must be different for TNC1 and TNC2)
- irqPin (TNC1 = 5, TNC2 = 19 for OK2ZAW board)
- LoRa settings: Frequency and LoRa parameters.


BPQ32 setup:

Please, I am very basic user of BPQ :) Most of my settings are try-and-test... I will be very happy if someone could help me with right parameters settings!


Directory: /home/pi/BPQ
CONFIG file: bpq32.cfg
RESTART BPQ: ./bpq-config

DO NOT change config file by BPQ-config script - could break TNC configuration.


Please, change configuration to your CALL, your informations:

There are port configuration. Port one is some deffault one, port 2 is TELNET. port 3 and 4 are local TCP ports. You have to change to right PORT number (IP address) and comment.

APRS configuratio:
- there are all APRS settings. You can use it together with APRS RX gateway (RTL-SDR and direwolf)


BPQ32 web page status:

Web page access: IP:8008/Node/NodeIndex.html
example: http://10.20.30.139:8008/Node/NodeIndex.html


EXAMPLE 1: RTL-SDR as 2m APRS gate - sending packets over LoRa:

In this case, BPQ runs as a BBS. RTL-SDR is connected to USB and Direwolf receive APRS packets at 144,800 MHz. From direwolf it is connected to BPQ and Bridged to LoRa TNC. All received packets are send to LoRa TNC too. Second Raspberry PI receive packets over LoRa TNC and sending to APRS network by configuration on BPQ.


Starting RTL-SDR with direwolf: 

rtl_fm -f 144.80M -o 4 - | direwolf -n 1 -r 24000 -b 16 -c sdr.conf -

Please, change Direwalf configuration in: /home/pi/direwolf/conf/sdr.conf

NOTE: when I moved image from Raspberry PI 4 to ZERO, Direwolf stopped working. I have to reinstall it! Error was:

Signal caught, exiting!
User cancel, exiting…
Illegal instruction


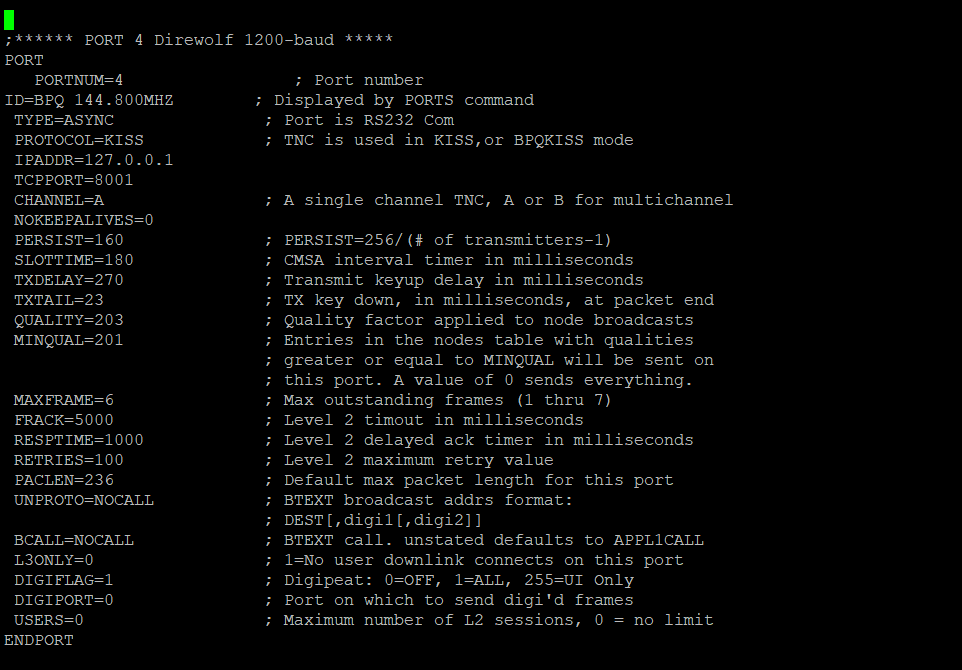
BPQ Direwolf port example:


BPQ bridging:
- this is example for bridging PORT 4 (2m APRS RTL-SDR port to ports 3 and 5 (LoRa 433 and 868 MHz)

BRIDGE 4=3 ; Bridge Direwolf port to LoRa
BRIDGE 4=5 ; Bridge Direwolf port to LoRa


RC.LOCAL start up:

There are starting commands for different softwares. you can find it in:

PATH: /etc/rc.local

Example:

# START LoRa TNC1 at localhost
sleep 2
cd /home/pi/LoRa_TNC/TNC1
sudo ./Start_lora-tnc.py >/dev/null &
sleep 4

# START LoRa TNC2 at localhost
sleep 2
cd /home/pi/LoRa_TNC/TNC2
sudo ./Start_lora-tnc.py >/dev/null &
sleep 4

# START 2m RTL-SDR APRS DIREWOLF TNC at localhost
#sleep 2
#rtl_fm -f 144.80M -o 4 - | direwolf -n 1 -r 24000 -b 16 -c sdr.conf - &
#sleep 2

# RESTART BPQ32
sleep 2
cd /home/pi/BPQ
systemctl stop bpq.service
sleep 5
systemctl start bpq.service
sleep 5

# using RTC time module Tiny RTC:
sudo echo ds1307 0x68 > /sys/class/i2c-adapter/i2c-1/new_device
***hwclock --hctosys
edit 06/23
hwclock -s

Windows TERMINAL:


DEnable terminal in BPQ config: more there

RTC at raspberry:

There can be application where the raspberry is not connected to internet (my solar powered setup in mountains) and it is a good idea to have right time and date in system. You can use RTC board connected to my board. This is for ds1307 *DS3231. It is preconfigured in the IMG. You need to enable it in rc.local:

# using RTC time module Tiny RTC:
sudo echo ds1307 0x68 > /sys/class/i2c-adapter/i2c-1/new_device
*** hwclock --hctosys
edit 06/23
hwclock -s

When you insert new board, you have to set right time.
Check if the board works and shows some timeby hwclock -r
If there is wrong time or no time, you have to connect Raspberry PI to internet, NTP server sets right time at raspberry and then use: hwclock -w
Now hwclock -r should show right time and date.
Next time hwclock -s does time sync to raspberry from RTC board.

Info (already installed in my IMG file): how to install it

Online node monitor:

There is online status monitor for BPQ: link